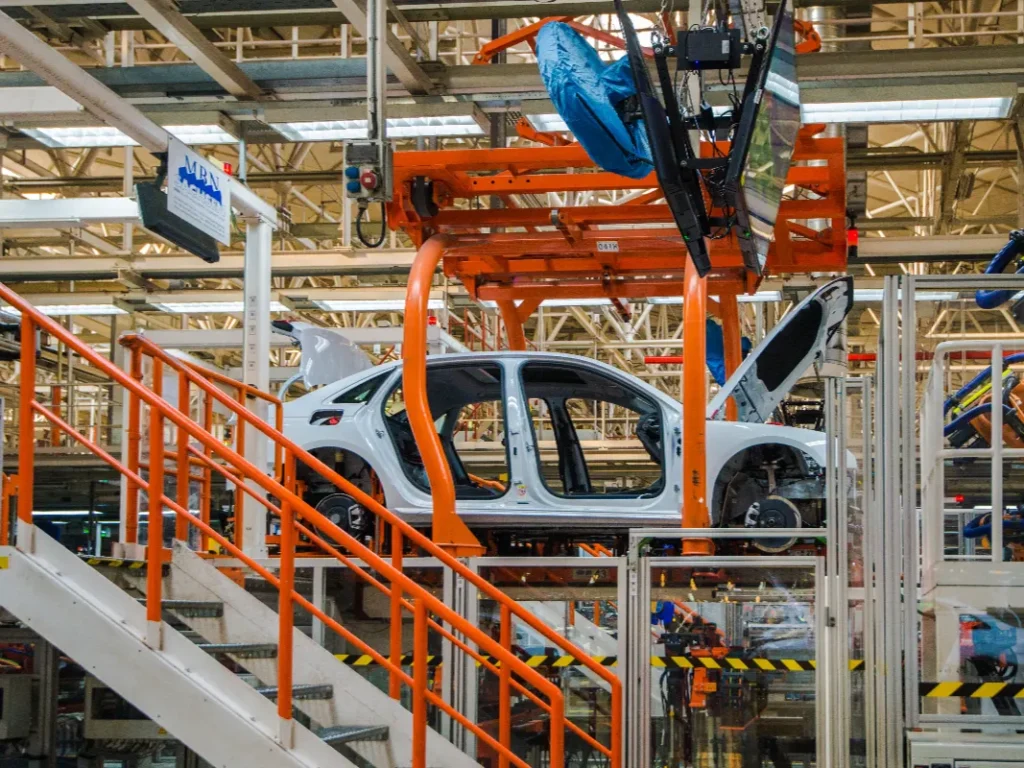
In automotive manufacturing, even small defects in components can lead to serious issues, from assembly problems and production delays to increased costs and safety risks. Ensuring that every part meets exact specifications is essential for quality, reliability, and customer trust. Traditional inspection methods, such as gauges or visual checks, often miss subtle deviations or lack repeatability, allowing defects to slip through the process.
Coordinate Measuring Machines (CMMs) provide precise, repeatable measurements that help manufacturers detect errors early, verify critical dimensions, and ensure parts meet design specifications. Beyond measurement, CMMs generate data that allows engineers to identify the root causes of defects and optimize production processes before errors affect assembly.
For automotive suppliers, integrating CMM inspection is not just a quality control step it is a strategic approach to reducing defects, improving efficiency, and delivering reliable components that meet the demanding standards of the automotive industry.
How CMM Reduces Defect Rates
1. Detecting Dimensional and Geometric Deviations
CMMs measure critical dimensions and geometries with micron-level precision.By comparing actual parts to CAD models:
- Misaligned holes, uneven surfaces, and shapes deviations are detected before assembly
- Critical safety compenents are verified to ensure correct dimensions, preventing failures in the field
2. Enabling Early Detection During Production
CMM inspection can be applied in-process
- Small deviations are identified immediately,allowing operators to adjust machines or tooling
- Prevents defective parts from moving further down the line,reducing scrap and rework.
3. Controlling Supplier Variability
With multiple suppliers, dimensional inconsistencies are common:
- CMMs verify parts from each supplier to the same standards
- Prevents misfits in assemblies, ensuring parts integrate smoothly regardless of origin.
4. Tooling and Fixture Validation
Defects often originate from inaccurate jigs, molds, or dies
- CMM inspection ensures toolongs remains within tolerance
- Prevents systematic errors that would otherwise product defects across hundreds of parts
5. Supporting First Article and Prototype Inspection
Before full production:
- CMMs measures first articles and protypes to verify compliance with design intent
- Early correction prevents defects from scaling up in mass production
6. Process Feedback and Continuous Improvement
CMMs collect precise data:
- Engineers analyze patterns and root causes of defects
- For example, tool wear, thermal distortion, or material shrinkage can be corrected before affecting large batches
- This creates a cloosed-loop system, where defect prevention becomes part of everyday productions.
7. Reducing Complex Part Errors
Modern automotive parts often have complex curves, multi-plane surfaces, and tight tolerances:
- Manual inspections struggles to measure these accurately.
- CMMs can handle 3D geometries and multi-feature compenents,ensuring subtle errors are caught.

Real-World Impact: Defect Reduction Results
The practical impact of CMM inspection is significant:
1. Defect Rate Reduction
By measuring every critical dimension and providing immediate feedback, defects dropped by 30-50% in many cases. Defective parts are caught before they reach assembly.
2. Scrap and Rework Reduction
Early detection prevents large batches of defective parts, saving both material and labor costs.
3. Improved Supplier Quality
Standardized inspections across multiple vendors reduce variabilty ensuring consistent assembly fit and function
4. Enhanced Process Control
With detailed measurement data, engineers can identify recurring issues like tool wear or fixture misalignment, enabling preventive actions
5. Safety and Compliance Assurance
Critical components, such as suspension or brake parts, are guaranteed to meet strict automotive tolerances, reducing the risk of failures and recalls.
6. Increased Efficency
Automated measurement rountines reduce inspection time per part by 40-5-% allowing faster throughput without compromising quality
In practice, this means fewer defective parts leave the supplier, fewer delays occur on the production line, and overall product quality and reliability improve.
Why Automotive Suppliers Should Invest in CMM

Investing in CMM inspection is more than buying a machine, it’s a strategic decision to prevent defects and optimize quality:
- Prevents defects before they occur rather than relying on post-production checks
- Ensure assembly compatibility across parts from multiple suppliers
- Improve yield and reduce waste, saving material and labor costs
- Enable data-driven process improvements, leading to long-term quality stability
- Prepare for Industry 4.0 intergration, where measurement data feeds automated process controls and digital twins
Conclusion
Reducing defects in automotive manufacturing is critical for maintaining quality, efficiency, and customer trust. CMM inspection allows manufacturers to detect dimensional and geometric deviations early, preventing defective parts from reaching the assembly line. By catching errors during production, scrap and rework are minimized, and every component meets the required specifications.
Beyond inspection, CMMs provide data that helps engineers understand the root causes of defects. This feedback supports continuous improvement, allowing manufacturers to address issues such as tool wear, fixture misalignment, or material inconsistencies before they affect production.
For automotive suppliers, integrating CMM solutions is both a practical and strategic investment. It ensures consistency across suppliers, strengthens compliance with industry standards, and improves overall process reliability. With CMMs, suppliers can maintain high-quality production, reduce costs, and deliver components that meet both performance and safety expectations.
